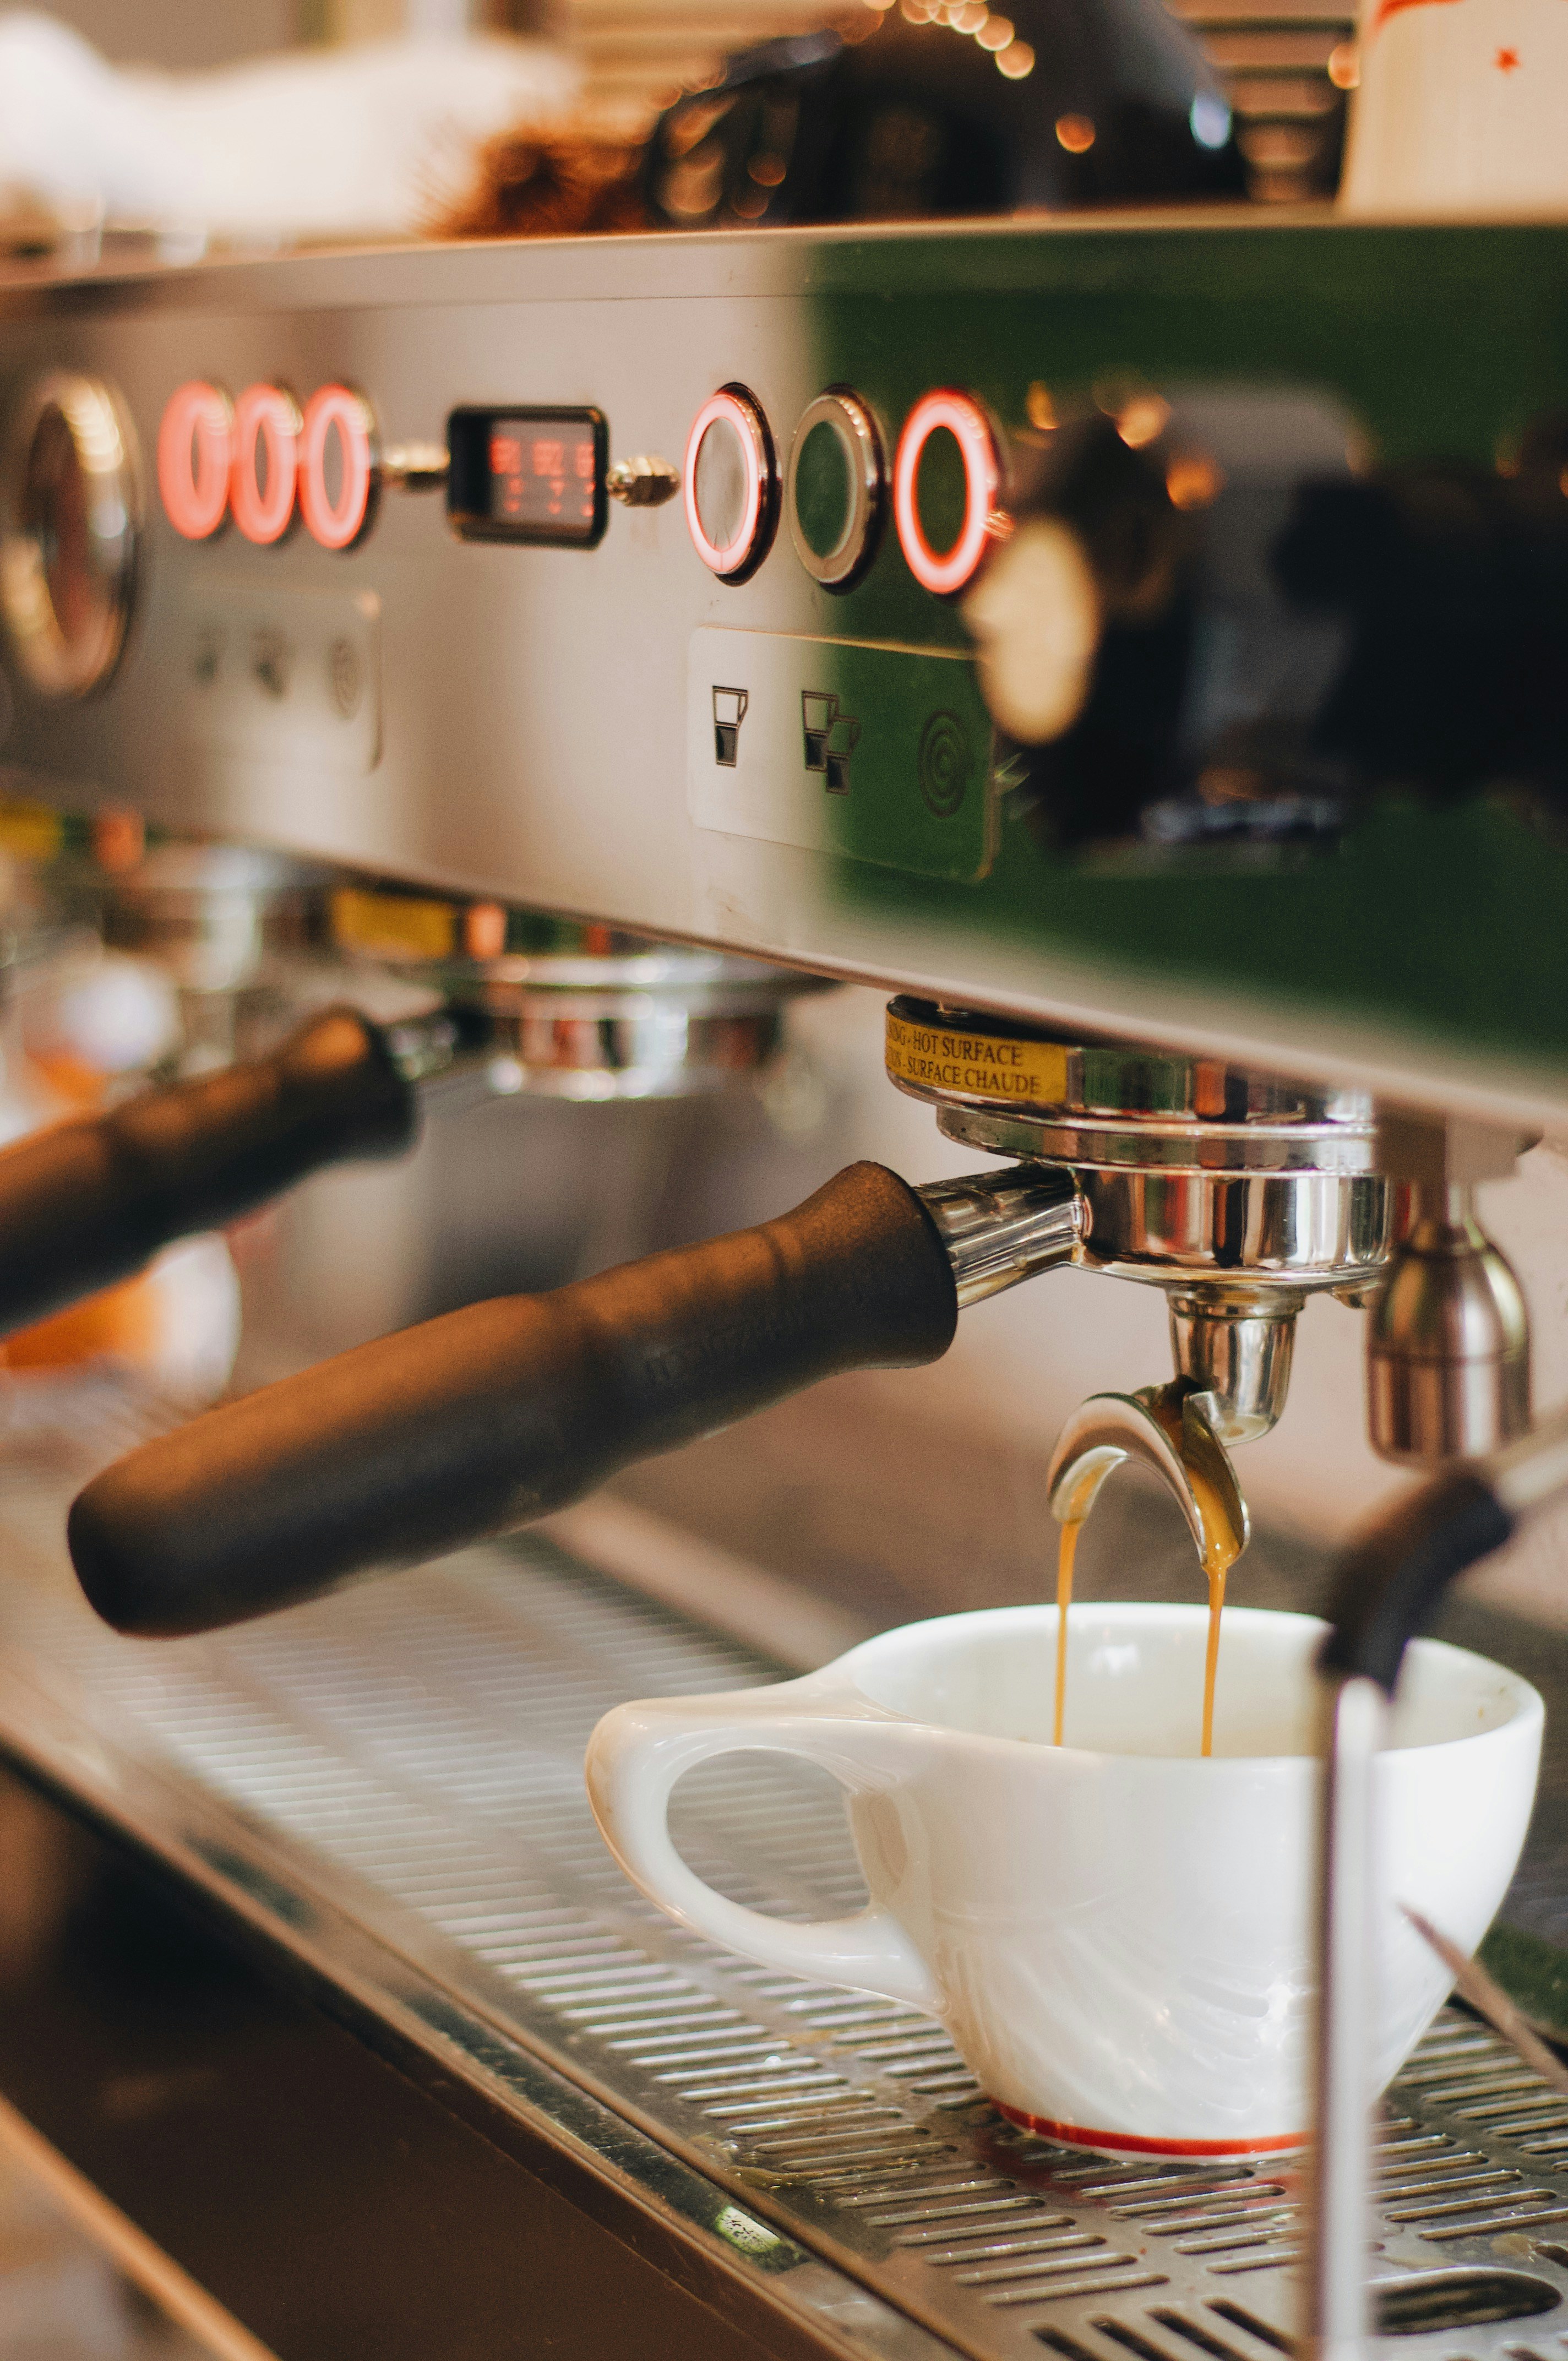
Home espresso has a reputation for being complicated, expensive, and obsessive. Some of that reputation is earned. But it doesn't have to be your experience. Millions of people pull great shots every morning without fussing over pressure curves or buying a $1,500 grinder.
This guide covers everything you need to know before you spend a single dollar — how espresso actually works, what equipment matters (and what doesn't), what a realistic budget looks like, and exactly what to do the first time you pull a shot. Read it once, and you'll have a clearer picture than most people who've been doing this for years.
What is espresso, actually?
Espresso is coffee brewed under pressure. Hot water — around 200°F (93°C) — is forced through a compact puck of finely ground coffee at roughly 9 bars of pressure, extracting a concentrated shot in about 25–30 seconds. The result is thick, intense, and topped with a reddish-brown foam called crema.
That's it. The mystique around espresso often obscures how straightforward the concept is. What makes it tricky is the narrow margin for error: small changes in grind size, dose, or water temperature have a big effect on the final cup. That sensitivity is what people mean when they talk about "dialing in."
Espresso is not a roast level or a type of bean — it's a brewing method. You can make espresso with any coffee. Light roasts, dark roasts, single-origins, blends. The "espresso roast" label on a bag is a suggestion, not a requirement.
Why make it at home?
A café latte costs $5–7. Made at home with decent gear, the same drink costs under $1 in ingredients. A home setup pays for itself fast if you're a daily coffee drinker. Beyond the money, there's real satisfaction in dialing in a shot — it's a small, repeatable craft that gets better with practice.
The equipment you actually need
You need three things to make espresso at home: a machine, a grinder, and fresh coffee. Everything else is optional.
| Item | What it does | Budget range | Can you skip it? |
|---|---|---|---|
| Espresso machine | Heats water and generates the pressure to brew your shot | $200 – $700+ | No |
| Grinder | Grinds coffee fresh, which is essential for good espresso | $100 – $300+ | No — pre-ground coffee goes stale fast and won't dial in |
| Scale | Measures dose (coffee in) and yield (espresso out) for consistency | $15 – $50 | Technically yes, but you'll waste a lot of coffee without one |
| Tamper | Packs the coffee puck evenly before brewing | $20 – $60 | Most machines include one, though aftermarket tampers are better |
| Fresh coffee | Whole beans roasted within the last 2–4 weeks | $15 – $25 / 12oz | No |
The grinder matters more than the machine
This surprises most beginners. A $150 grinder paired with a $250 machine will consistently outperform a cheap grinder paired with a $600 machine. The grinder controls grind size and consistency — both of which have a bigger impact on your shot than the machine's pressure profile or boiler type.
If you're working with a tight budget, tilt it toward the grinder. A mid-range machine with a good grinder is the winning combination.
Machine: Breville Bambino Plus or De'Longhi Stilosa for a true budget start.
Grinder: Baratza Encore ESP or Breville Smart Grinder Pro. Both have fine enough grind settings for espresso, which not all grinders do.
The espresso triangle: Dose, Yield & Time
Every espresso shot is described by three numbers. Understanding these is the single biggest unlock for a beginner.
-
D
Dose — how much coffee goes in
Measured in grams. Most home setups use a double shot basket, which holds 16–18g of ground coffee. This is your starting point and rarely changes once set.
-
Y
Yield — how much espresso comes out
Also measured in grams (weigh the liquid, not the volume). A standard double shot targets a 1:2 ratio — 18g in, 36g out. A ristretto is closer to 1:1.5 (richer, more intense). A lungo is 1:3 or more (lighter, more bitter).
-
T
Time — how long the shot takes
Start timing when the pump turns on. A well-dialed shot hits its yield in 25–35 seconds. Faster means under-extraction (sour, thin). Slower means over-extraction (bitter, harsh).
These three variables interact. Adjusting one almost always means adjusting another. The main lever you pull is grind size — a finer grind slows the shot down, a coarser grind speeds it up.
Pulling your first shot, step by step
Don't overthink it. Here's a simple process to follow your first time.
-
01
Warm up your machine
Most machines need 15–30 minutes to reach stable brewing temperature. Turn it on while you prep everything else. Run a blank shot (water only through the portafilter) to pre-heat the group head.
-
02
Grind and dose
Grind 18g of fresh beans into your portafilter basket. Use a scale — eyeballing it will frustrate you. Start your grinder at the manufacturer's recommended espresso setting and adjust from there.
-
03
Distribute and tamp
Lightly shake the portafilter to level the grounds, then use your finger or a distributor to even out any peaks. Tamp straight down with about 30 lbs of pressure — firm and level. A crooked tamp causes channeling (water finds a path of least resistance and under-extracts most of the puck).
-
04
Lock in and brew
Lock the portafilter into the group head and place your cup and scale underneath. Tare the scale, start the shot, and start your timer simultaneously. Watch the scale.
-
05
Stop at your target yield
Stop the shot when you hit your target weight — aim for 36g out (double your 18g dose). Note the time. If you hit 36g in 25–35 seconds, you're in the ballpark. If not, adjust your grind.
-
06
Taste and adjust
Drink it. Is it sour or thin? Grind finer (slows extraction). Is it bitter or harsh? Grind coarser (speeds extraction). Make one change at a time and pull another shot. This is "dialing in."
Your first shot will probably not be great. That's completely normal. Expect to pull 3–5 shots before you start hitting a consistent, enjoyable result. Each one teaches you something. The coffee isn't wasted — it's tuition.
Troubleshooting common problems
If your shots are consistently off, it's almost always one of these.
Shot runs too fast (< 20 seconds)
The espresso is gushing out pale and thin. The water is moving through too quickly and under-extracting. Fix: grind finer. If you're already at your grinder's finest setting, try adding 1–2g more coffee to your dose.
Shot runs too slow (> 40 seconds)
Dripping slowly, possibly dark and bitter. Over-extracted. Fix: grind coarser. Also check that you're not over-tamping or over-dosing.
Channeling — shot spurts unevenly
Water finds a weak spot in the puck and blasts through one area while the rest extracts poorly. Fix: focus on distribution. Use a WDT tool (a needle stirrer) to break up clumps before tamping, and make sure your tamp is level.
No crema, or very thin crema
Crema comes from CO₂ in freshly roasted coffee. No crema usually means stale beans. Fix: buy fresher coffee — roasted within the last 2–4 weeks. Check the roast date on the bag, not the best-by date.
Shot tastes sour
Under-extracted. The bright, sharp acids dominate before the sweetness has a chance to come through. Fix: grind finer to slow the shot and increase extraction. Also check your water temperature — too cool causes sourness.
Shot tastes bitter or harsh
Over-extracted. You've pulled too many compounds out of the coffee. Fix: grind coarser. You can also try reducing your dose slightly or shortening your yield.
Choosing your coffee
Fresh beans are more important than expensive beans. A $15 bag roasted three weeks ago will outperform a $30 bag that's been sitting in a warehouse. Here's what to look for:
Check the roast date
Look for bags with a printed roast date, not just a "best by" date. You want beans roasted within the last 2–5 weeks. Too fresh (under a week) and the CO₂ hasn't off-gassed enough, causing inconsistent extraction. Too old (over 6 weeks) and the flavors have faded.
Start with a medium roast
Light roasts require more precision to extract well and taste flat if under-extracted. Very dark roasts can be forgiving, but they hide a lot of the coffee's character behind roast flavors. A medium or medium-dark roast gives you more room for error and a fuller flavor profile to taste and learn from.
Buy whole beans
Pre-ground coffee starts going stale within minutes of grinding. Whole beans stay fresh for weeks. If you invest in a grinder — which you should — always buy whole beans and grind immediately before brewing.
Local roasters are ideal — the beans are often roasted to order or within days. Online options like Trade, Onyx, or Counter Culture ship freshly roasted beans. Avoid big grocery-store brands unless you can find a roast date; most are months old before they hit the shelf.
What comes next
Once you can pull a consistent, enjoyable double shot, the natural next steps are:
Learn to steam milk
If your machine has a steam wand, steamed milk opens up lattes, cappuccinos, flat whites, and more. It takes practice — expect a few weeks before your microfoam is silky rather than bubbly — but it's the same kind of satisfying progression as dialing in your espresso.
Experiment with ratios
Once you're comfortable with a 1:2 ratio, try a ristretto (1:1.5) for something more syrupy and intense, or a lungo (1:3) for something lighter. Different coffees also respond better to different ratios.
Explore different origins
Try a Yirgacheffe for floral, tea-like notes. Try a Colombian or Brazilian for chocolate and nuts. Try an Ethiopian natural process for fruit-forward complexity. Each coffee will require re-dialing your grind — that's normal and part of the fun.
Ready to pick your gear?
See our tested recommendations for beginner machines and grinders at every budget.